Connecting to Your Azure Virtual Desktop
Connecting to Azure on your Mac
Install “Windows App” (previously Remote Desktop) from Apple’s App Store.
https://apps.apple.com/us/app/windows-app/id1295203466?mt=12
(Requires macOS 12.0 or later. For information on updating your macOS, please visit: https://support.apple.com/en-us/HT211683)
Click “Get” and “Install”. Enter your AppleID and password.

Click “Open” once Windows App is installed.
-
You will need to allow access to your microphone and camera if you wish to use them in a remote session. Click “Continue”, “OK”, and “OK”.

- You may be greeted with a Welcome page. Press "Next" or "Skip" to move through the pages.

In the top-right corner, click on the plus sign, then click "Add Workspace."

When prompted for a URL, enter: https://rdweb.wvd.microsoft.com/api/arm/feeddiscovery and click “Add”
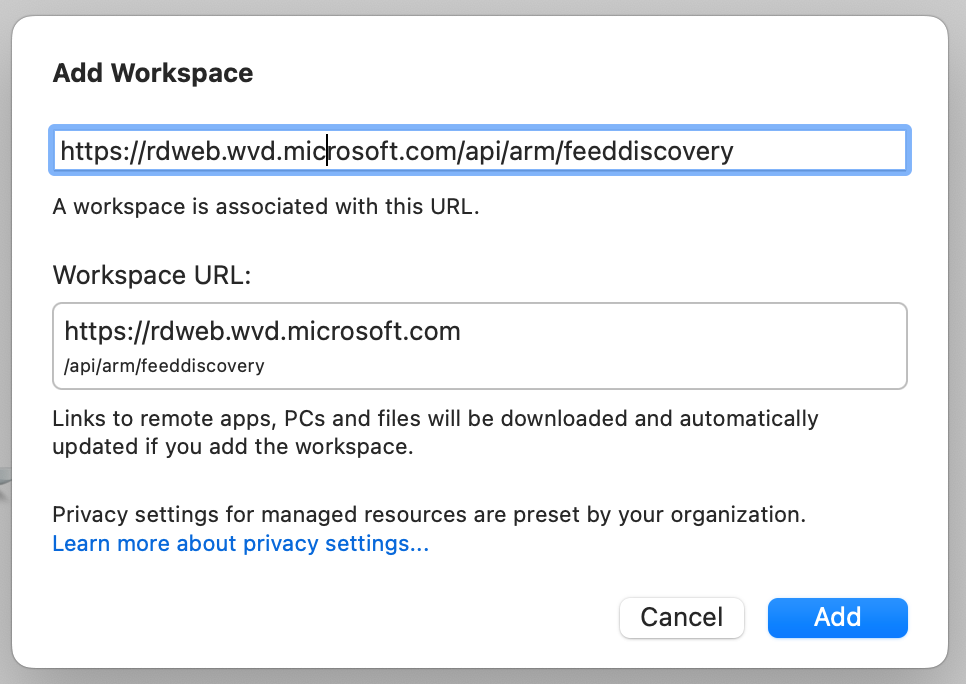
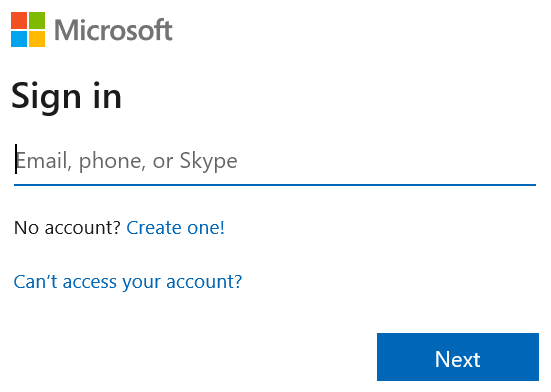
- Enter your WFU email address (@wfu.edu) and click “Next.”
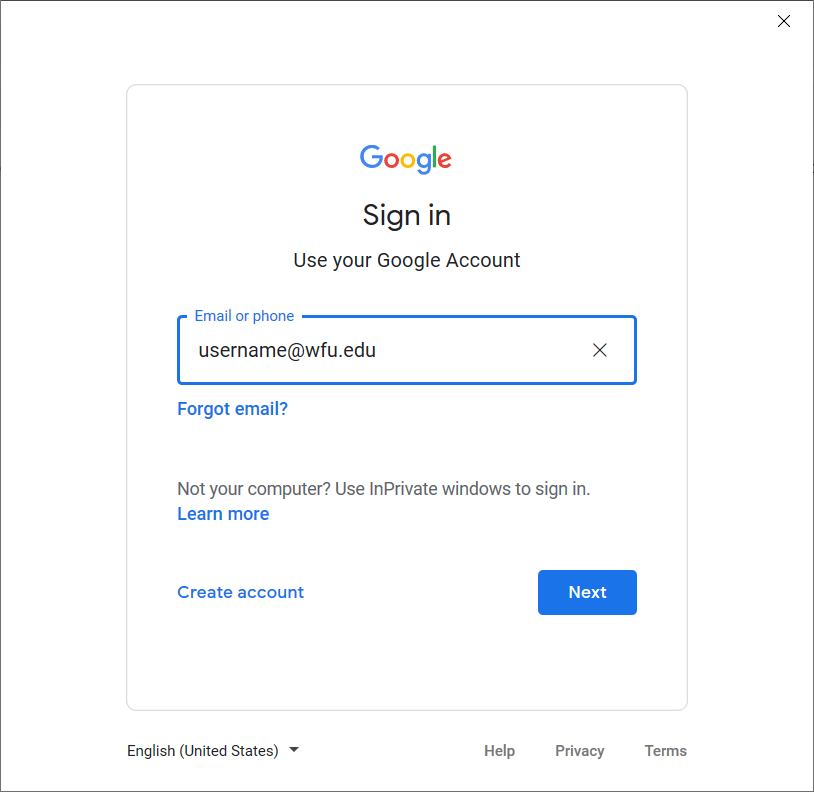
- You will be redirected to Google for authentication. Log into your WFU Google account.
- You should be presented with a list of VMs assigned to your account. Click the VM listed under “Personal Desktops for School of Business” to start a session

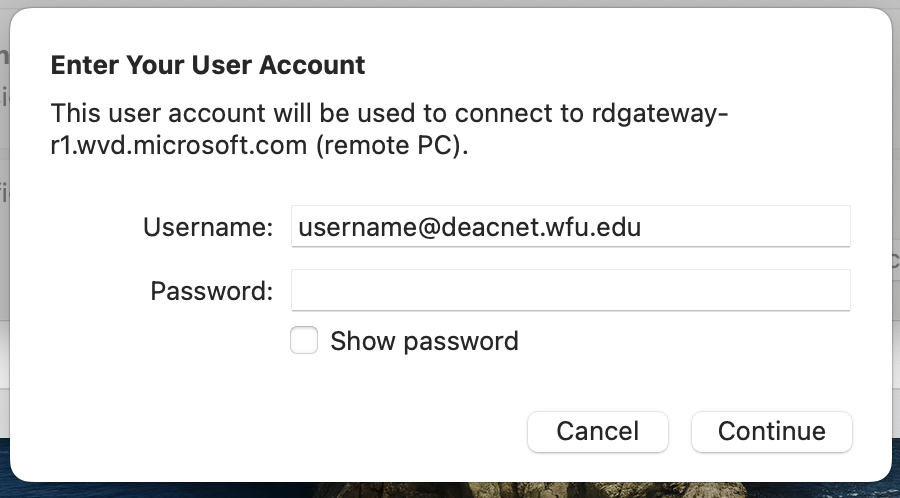
- You will be asked to log in again, this time to your virtual machine using your WFU username + @deacnet.wfu.edu and password.
[Example: userjm4@deacnet.wfu.edu ]
If your VM is currently powered down, you will receive a message to wait for it to turn on. The first time you access your Azure Virtual Desktop, it will take approximately 5 minutes it to start while you profile is created. After this initial connection, starting your Azure Virtual Desktop will take approximately 2 minutes.
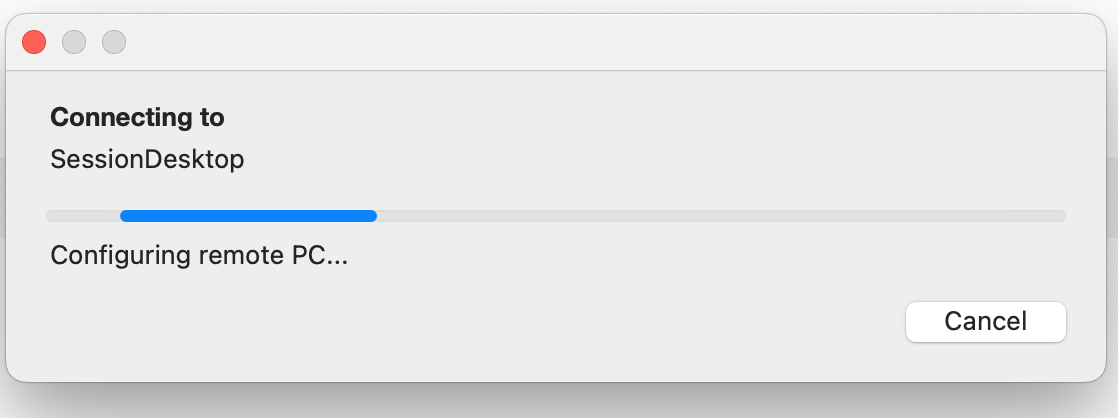
- Once the Windows 11 desktop appears, you are fully logged on to your Azure Virtual Desktop.
You'll notice three icons on your desktop that link to additional articles that will help you acclimate to your new virtual desktop.
-
Getting Started with your Azure Virtual Desktop - additional steps to configure and use your virtual desktop
-
Additional Software - this will take you to the software repository for the School of Business.
-
Help Desk, School of Business - this takes you to the main Help Desk portal
Connecting to Azure on your Windows PC
- Download and install the Windows App application from: https://apps.microsoft.com/detail/9N1F85V9T8BN?hl=en-us&gl=US

- Launch Windows App application from the desktop icon and click ‘Sign in’

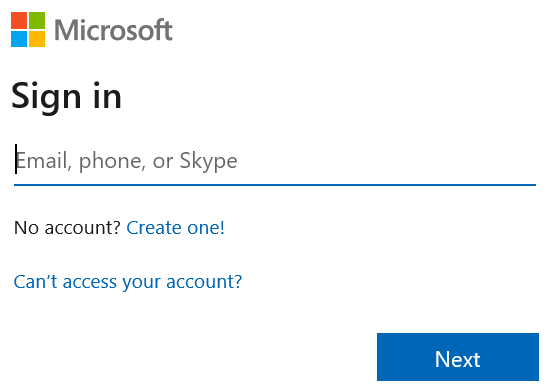
- Enter your WFU email address (@wfu.edu) and click Next.
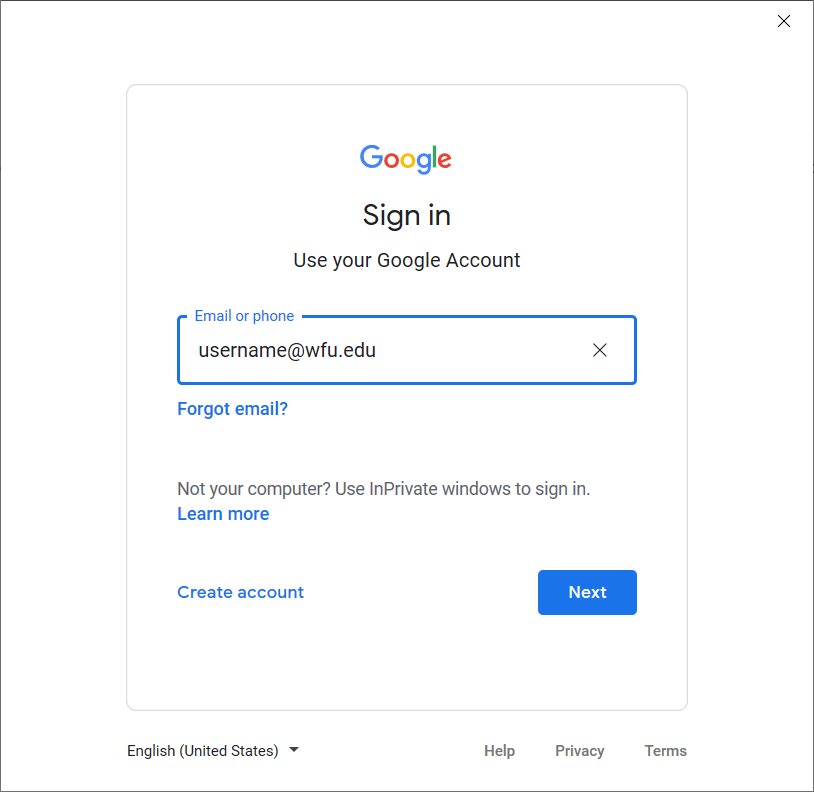
- You will be redirected to Google for authentication. Log into your WFU Google account.
- You will be presented with a list of VMs assigned to your account. Double-click the VM listed to start a session

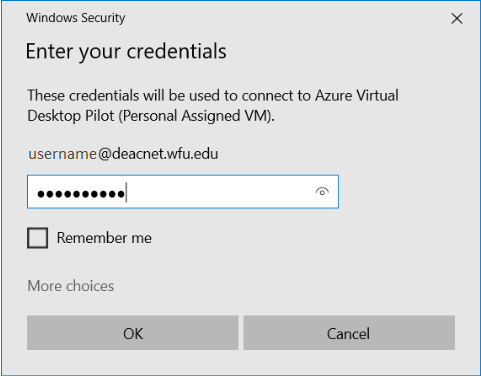
- You will be asked to log in to your virtual machine. Enter your WFU password and click OK.
- If your VM is currently powered down, you will receive a message to wait for it to boot.
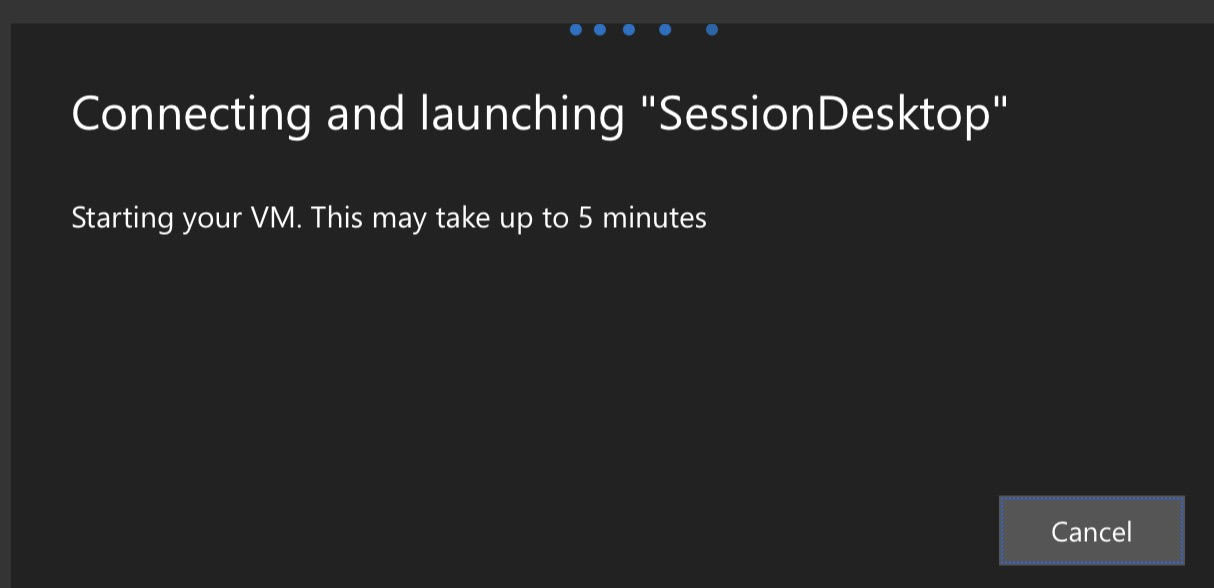
- You should now be logged into your virtual machine
- You will be logged in to the session with your WFU credentials
- You will have network access similar to the Admin Users network
You'll notice three icons on your desktop that link to additional articles that will help you acclimate to your new virtual desktop.
Getting Started with your Azure Virtual Desktop - additional steps to configure and use your virtual desktop
Additional Software - this will take you to the software repository for the School of Business.
Help Desk, School of Business - this takes you to the main Help Desk portal