Classroom AV Technology
The following links provide an overview to specific components of the classroom technology found in Farrell Hall and the WFCC. The AV Touch Panel functionality is identical in both locations; however, specific classrooms may have differing numbers of projectors and screens. The differences are noted in the articles below.
AV Touch Panel
- In the unlikely event the AV Touch Panel is locked, Press and hold the splash screen for 3 seconds to display the options for the audio-visual equipment in the classroom.

- Once the AV Touch Panel is unlocked, it will appear like the following image, where the different AV inputs are found on the left side, and projectors available to route the feed will be found at the top of the panel.

NOTE: The image above references a divisible classroom. Most Farrell Hall classrooms only have 2 projectors displayed at the top.
- To exit the AV Touch Panel for any reason, tap Close in the top left corner. Tap the Shutdown button at the bottom of the following screen.
NOTE: Shutting down the Touch Panel is rarely necessary.


Classroom Projectors
- Projectors will automatically power on when the corresponding projector icon is tapped on the AV Touch Panel.

- You can send your input source to one or more projectors, depending on the classroom. You can also display different sources on different projectors simultaneously.
-
Farrell Hall classrooms have two projectors
-
WFUCC classrooms four projectors
- Tap the desired input source (once) and then select the desired destination projector(s). If the input needs to be displayed on all screens, tap each projector at the top of the Touch Panel.
- Allow a few seconds for an input to display on a projector after the input has been switched.
- To clear a projector (which clears the input signal and turns the display black without powering it off), press and hold the projector button on the Touch Panel. To project again on the cleared projector, tap the input and tap the projector.
NOTE: If the projector is off, it will take a few minutes to warm up before an image is visible and an image is displayed on the running projectors.
Video Mute (Black Screen)
-
Video Mute button(s), located to the right of each projector icon, can be used to display a black screen without turning the projector off or having it go into “Stand By” mode.
- To resume projection of an input source, tap the Video Muted button to the right of the projector icon.

Screen Operation
- The Farrell Hall 2nd and 3rd floor classrooms have motorized retractable projection screens. The screens will automatically open when the corresponding projector is selected on the Touch Panel.
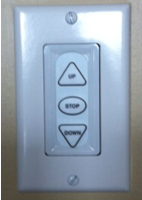
- To hide the projector screen(s) use the controls found on the classroom walls.

NOTE: Mediasite records 1 screen in every classroom. Be sure to send the content you want recorded to the following:
- In Farrell Hall, select the screen closest to the door.
-
In the WFUCC, select the screen that is center left (if your back is to the door, the center screen farthest from the podium).
Audio Controls
- The multimedia system will automatically use the audio input from the last input source that was sent to a projector. If audio is routed to the extended monitor, then there will be no sound. The remedy is to reselect the primary monitor on the Desktop and tap the desired projector.
- To adjust the audio volume, use the volume sliders found on the far right of the AV Touch Panel.

-
The Speaker Mute and Microphone Mute buttons (located at the top right corner of the Touch Panel) control the microphone and speakers.
- To mute/unmute the classroom speakers, tap the Speaker Mute/Speakers Muted button on the AV Touch Panel.
- To mute the adjustable classroom microphone attached to the classroom podium, tap the Mic Mute/Mic Muted button on the AV Touch Panel.

Podium PC
All WFUSB Desktop computers automatically log in and do not require a username or password. For more information about classroom Desktop management and software, click here.
- Make sure the computer is on and tap Podium PC on the left side of the Touch Panel.
- Tap the projector(s) to display the Podium PC computer image.
- Audio from the computer will feed directly to the classroom speakers.
- To play DVD/Blu Ray discs, use the Blu Ray player located in the Podium PC.
- The Podium PC has a remote to control PowerPoint presentations. The remote also contains a laser pointer.
Desktop Monitors
- The left monitor is the primary monitor.
- The right monitor is the extended monitor (no sound associated with this monitor).
Extended Desktop
- The desktop computers are set to "extended Desktop" by default. To route content displayed on the extended desktop to a projector, click Extend on the AV Touch Panel and select the desired projector.
NOTE: The remote will only work with the desktop computer. Please do not disconnect the USB receiver for the remote from the classroom computer.

Guest Wired (for guest laptops)
- To use a guest laptop, connect to the laptop’s video port using the USB-C adapter found on the podium and turn on the laptop.
- Tap Guest Wired on the left side of the Touch Panel.
- Tap the projector(s) to display the laptop image.
- When the image is available on the laptop screen, the image may automatically appear on the screen. If not, do the following:
- On a Windows laptop, press the Windows button + P and choose Duplicate from the Display Options.
- On a Mac laptop, the display should appear automatically. If it does not, it will require restarting the laptop after it is connected to the Guest Wired input.

Wireless Input (for guest laptops)
- To use a Wireless connection, tap Wireless on the left side of the Touch Panel.
- Select the projector(s) to display the image if the wireless device.

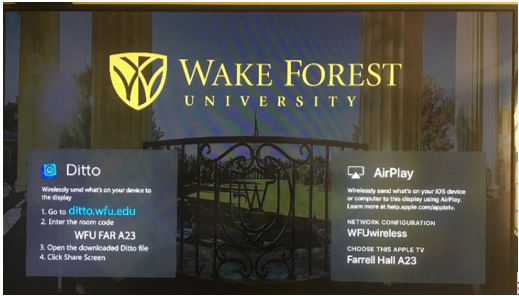
- The projectors selected for Wireless display two options for connecting wirelessly:
- Non-iOS devices can connect using Ditto.
- iOS devices can connect using AirPlay screen mirroring.
- For the instructions for using Airplay or Ditto, click here.

HoverCam
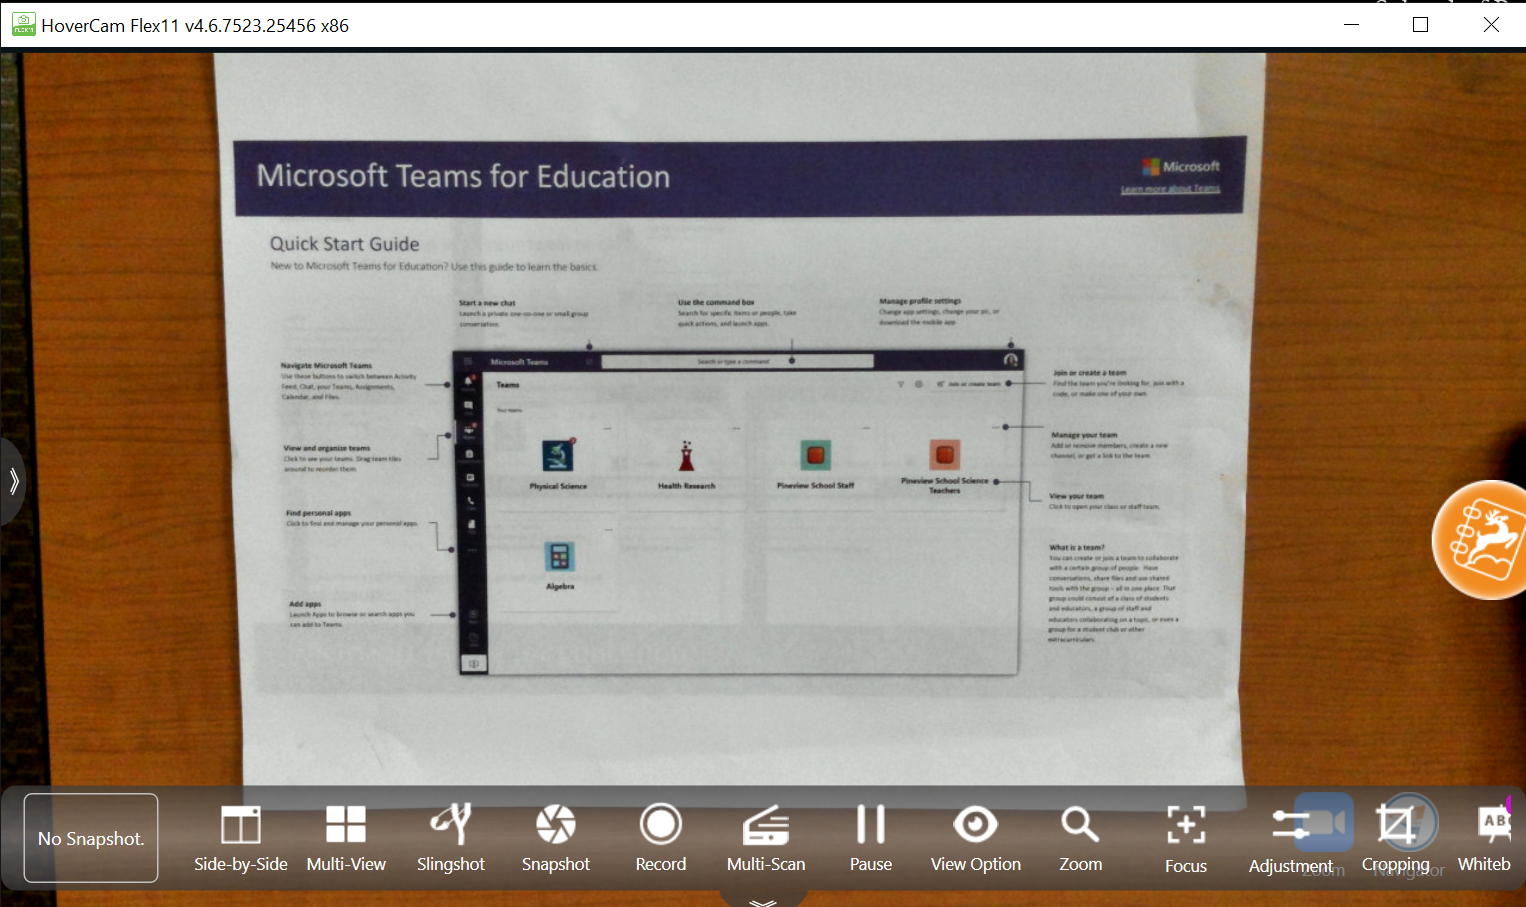
- To use the HoverCam for document projection, open the HoverCam app (Called Flex II) on the Desktop PC.
- HoverCam will display on the projector tied to the Desktop PC.
- Make sure that the HoverCam power is turned on.
- Place your document below the HoverCam arm. It should be visible on the screen. The Zoom and Focus buttons are located on the base of the HoverCam or the bottom of the HoverCam App.

Light and Shade Controls*
* Light and shade controls are only available on the touch panels in Farrell Hall.
- These controls are found in two locations: the classroom walls and the AV Touch Panel.
- Tap Shades to display the shade controls and tap to select the appropriate shade option.
- Tap Lights to display the light controls and tap to select the desired light option.
- Light controls are found on the wall by the instructor’s podium in the WFUCC.
